Drawing can feel daunting at first. The blank page stares back at you, and you might wonder, “Where do I even begin?” Don't worry; you’re not alone! Many beginners feel frustrated when their drawings don’t come out as planned. But like anything else, drawing is a skill you can improve with a proper approach. The key is to break the process down into manageable steps. In this post, we’ll dive into a structured approach to drawing that will help you feel more confident and get better results.
1. Start with a Rough Sketch
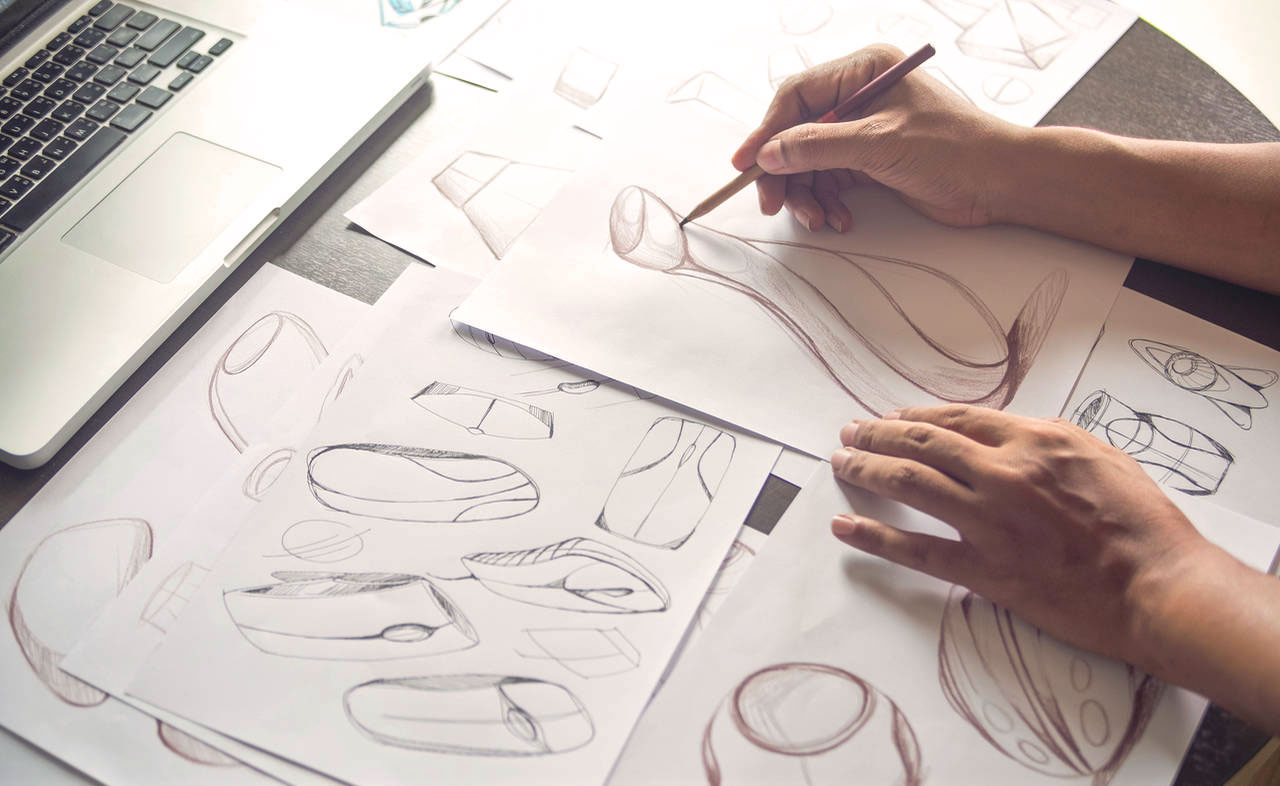
The first step to creating any drawing is the rough sketch. Think of this as laying the foundation of a house—you wouldn't start by painting the walls before the structure is up! In your rough sketch, you’re just getting the basic shapes and composition onto the page. Don’t worry about making it perfect; this is all about figuring out the general layout.
- Key tip: Keep it loose. Your rough sketch doesn’t need to be pretty—it’s a rough idea. You’ll refine it later.
- Use a light pencil: If you’re drawing on paper, go for something like a 4H pencil, which will leave light marks that are easy to erase. If you’re working digitally, use a low-opacity brush on a separate layer.
- Sketch from life, not photos: If possible, try to draw from real life rather than using photographs. Photos tend to flatten things out, removing depth and distorting lighting. Real objects help you train your eye to understand perspective, proportion, and light.
In the rough sketch phase, your goal is to block in the general forms. If you’re drawing a person, this might look like a stick figure. For landscapes, it might be basic shapes that represent the horizon, buildings, or trees. At this stage, feel free to experiment with different compositions until something feels right.
2. Build the Construction
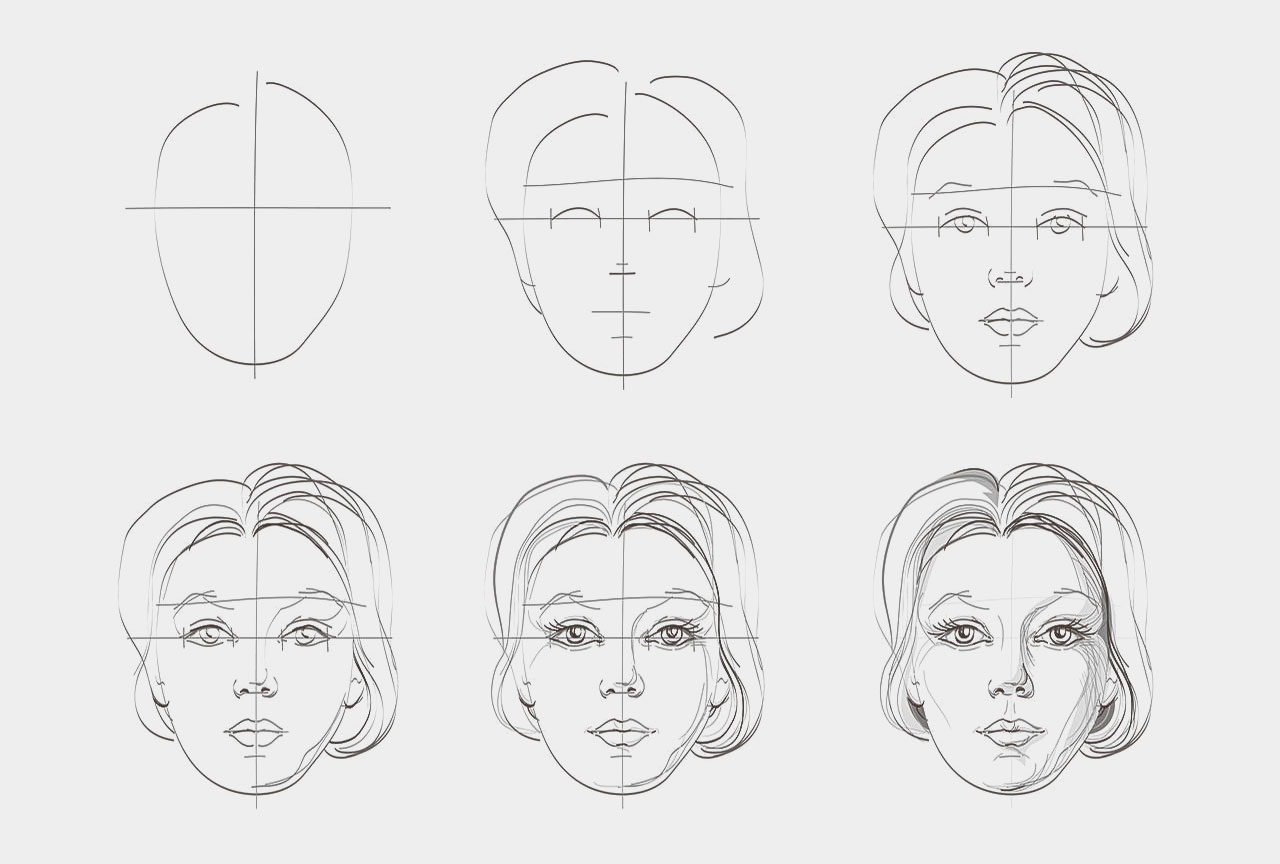
After you’ve got your rough sketch, it’s time to move into the construction phase. This is where you start establishing the structure of your drawing and making things more defined. Essentially, you’re building the “skeleton” of your piece.
- Measure and compare: This stage is all about relationships—how one part of your subject lines up with another. For example, in figure drawing, you might notice that the bottom of the nose aligns with the bottom of the ears, or that the length of the arm is proportional to the torso. By comparing these relationships, you can ensure that your drawing stays in proportion.
- Use tools: Artists often use tools like their pencil or thumb as a ruler to measure angles and distances. If you’re drawing from life, hold your pencil up in front of your subject to measure and transfer proportions to your paper.
- Stay loose: Although you’re adding structure, avoid diving into details too early. You’re still figuring out where things go, so don’t hesitate to erase or adjust. Keeping your lines light will make this process easier.
The construction phase is crucial because it sets the foundation for everything that follows. The more attention you give to proportion and structure here, the more realistic and well-balanced your final piece will look.
3. Tighten the Sketch
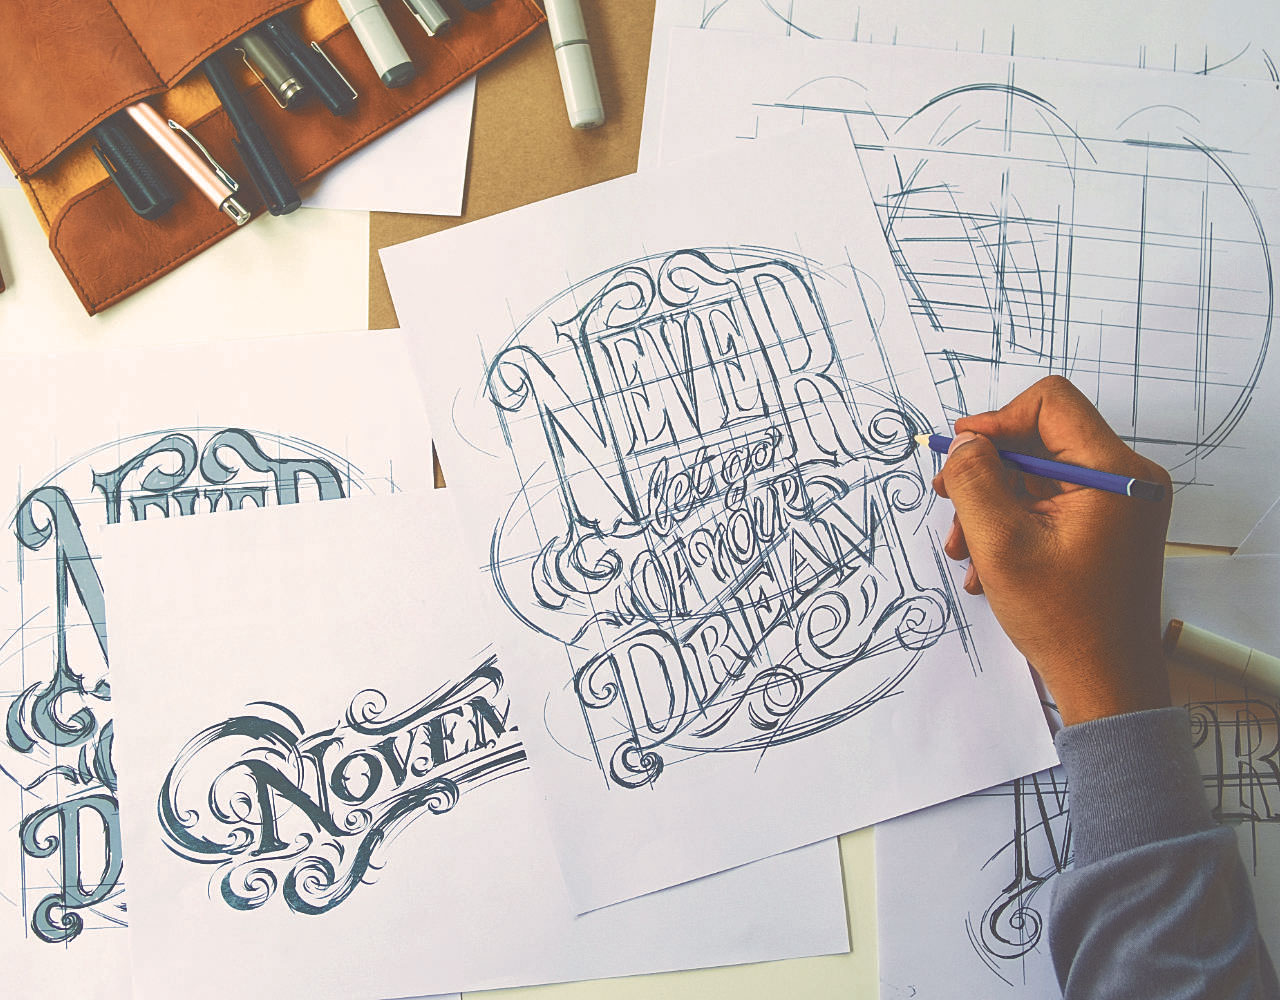
Now, we move into the tight sketch phase. Here’s where things start to look more like your finished piece. The goal at this stage is to refine your drawing, add more detail, and clean up your lines.
- Establish clean lines: At this point, you can go over your construction lines more firmly. Start defining the shapes and adding detail. If you’re working digitally, this is the time to add a new layer and work more cleanly.
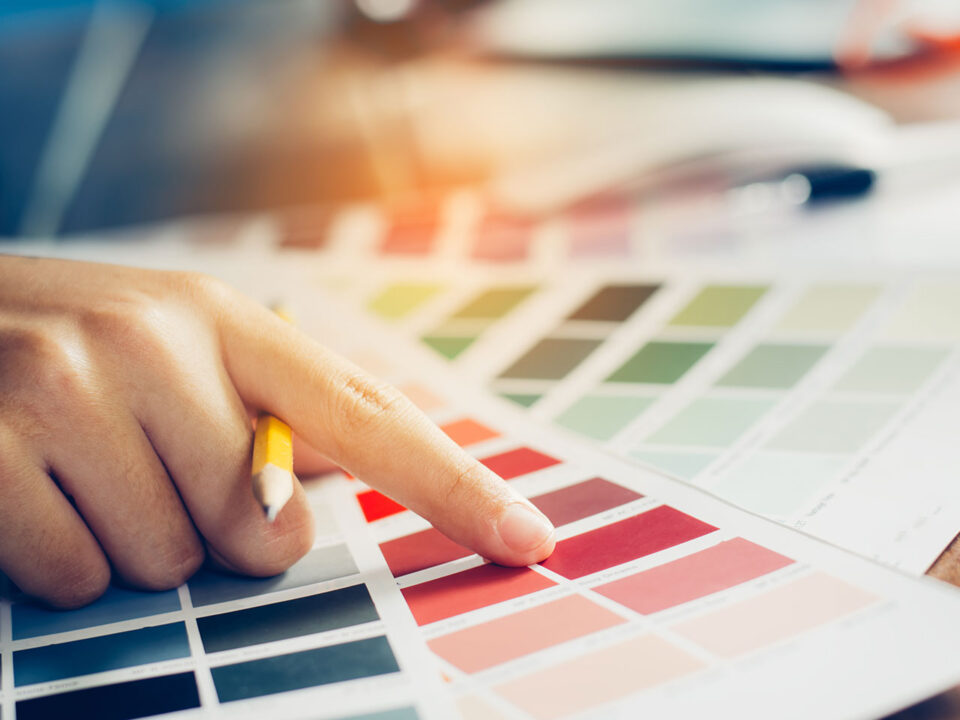
- Block out basic values: Whether you’re working in color or black and white, begin thinking about the values in your drawing—your lightest lights and darkest darks. You can even do something called black spotting, where you fill in areas of deep shadow to give your drawing more depth and contrast.
- Work from general to specific: This is crucial advice for beginners. Don’t get too focused on tiny details right away. Instead, work across the whole drawing, refining each part gradually. This ensures that the entire piece develops evenly.
Your tight sketch should now start to resemble the final product. The goal here is to leave yourself a clear roadmap for the finishing stage, with all the major elements and values already in place.
4. Finishing
This is where it all pays off. In this stage you begin to make that image you've held in your head up until now. During this stage you will render the full value of your drawing or painting or you'll lay down the inks and colors of your comic piece.
Once again, the specifics of what you do in this stage vary widely from medium to medium. The important thing to do is take your time. Get a fresh perspective by turning the image on its side or upside down. If you're working digitally, try mirroring the image (or hold it up in a real mirror, for traditional pieces) and see if you notice anything that you'd overlooked.
It's also important to render everything to the same level. This is where your black-spotting comes in handy. Make sure everything that is supposed to be very dark is the same level of darkness. The same with the very bright points. Keep an eye out for tricks of light, like reflected light into the core of a shadow. Pay attention to highlights on various surfaces. Your focus in this stage should be both minute and holistic--be attentive to every part of the image until you feel like you might have gone too far. And then, maybe, take it further.
In conclusion, it is my hope that this primer will set you on the road to making your own masterpieces. Don't be afraid to experiment. Don't give up when you've made a mistake that seems irreversible. Be willing to start all over again from scratch, if you need to. But, most important of all, don't neglect the steps that lead up to a finished piece.
Good luck, and keep drawing. I can't wait to see what you come up with.